
Last updated October 16, 2026
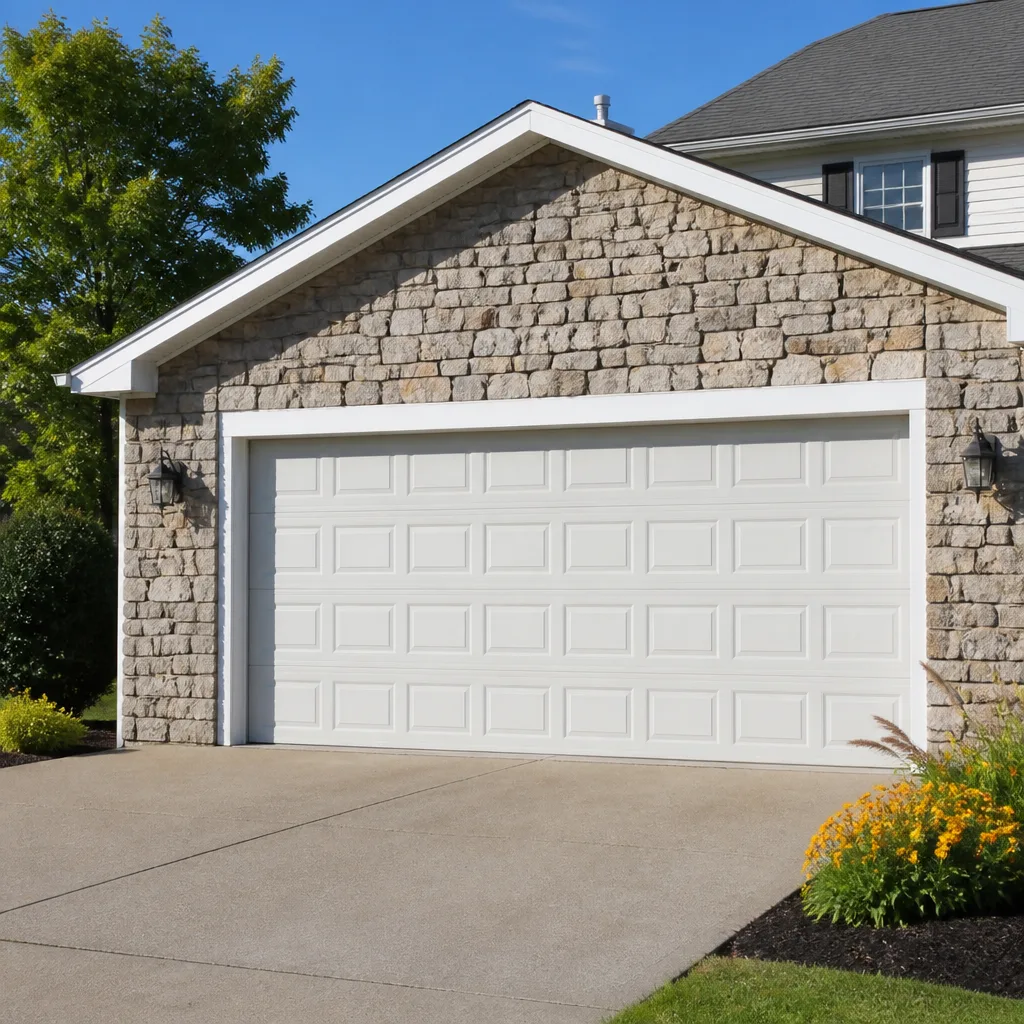 Raised-panel steel
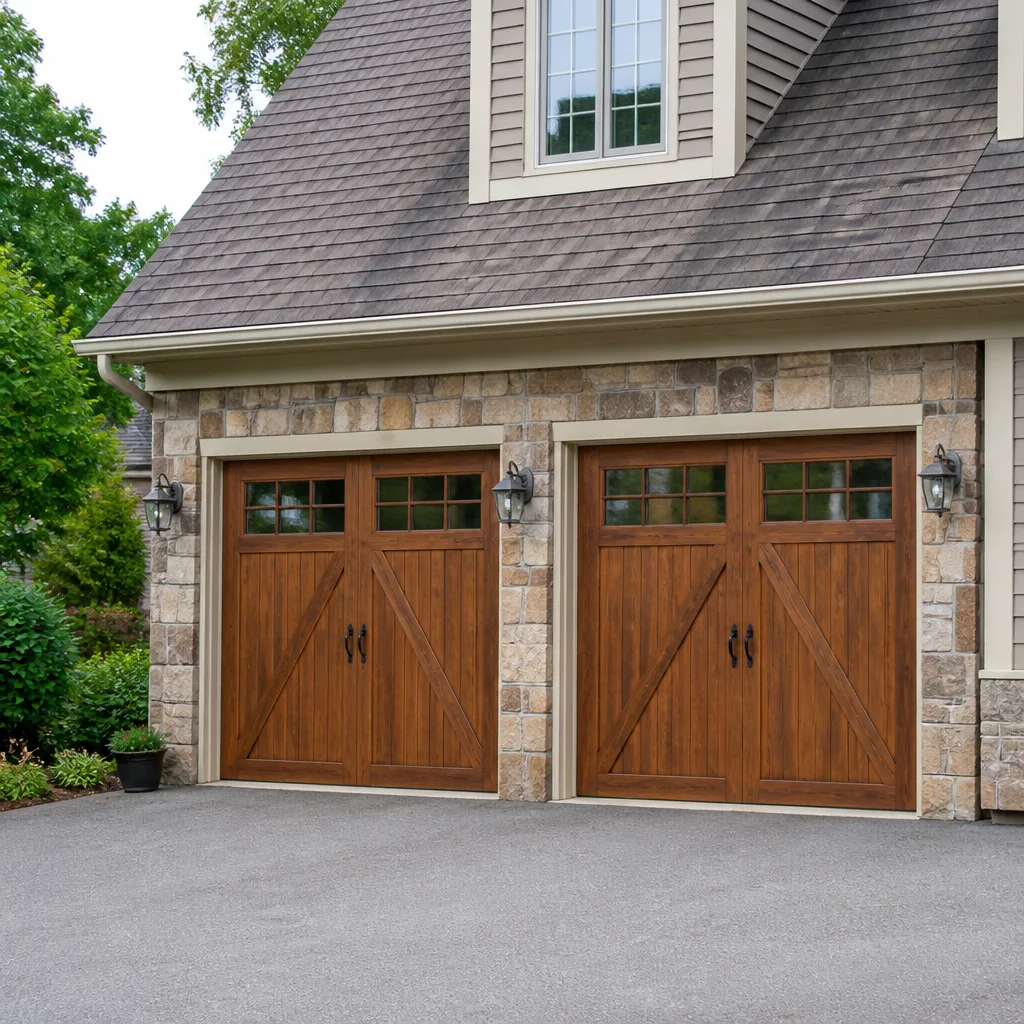 Carriage house
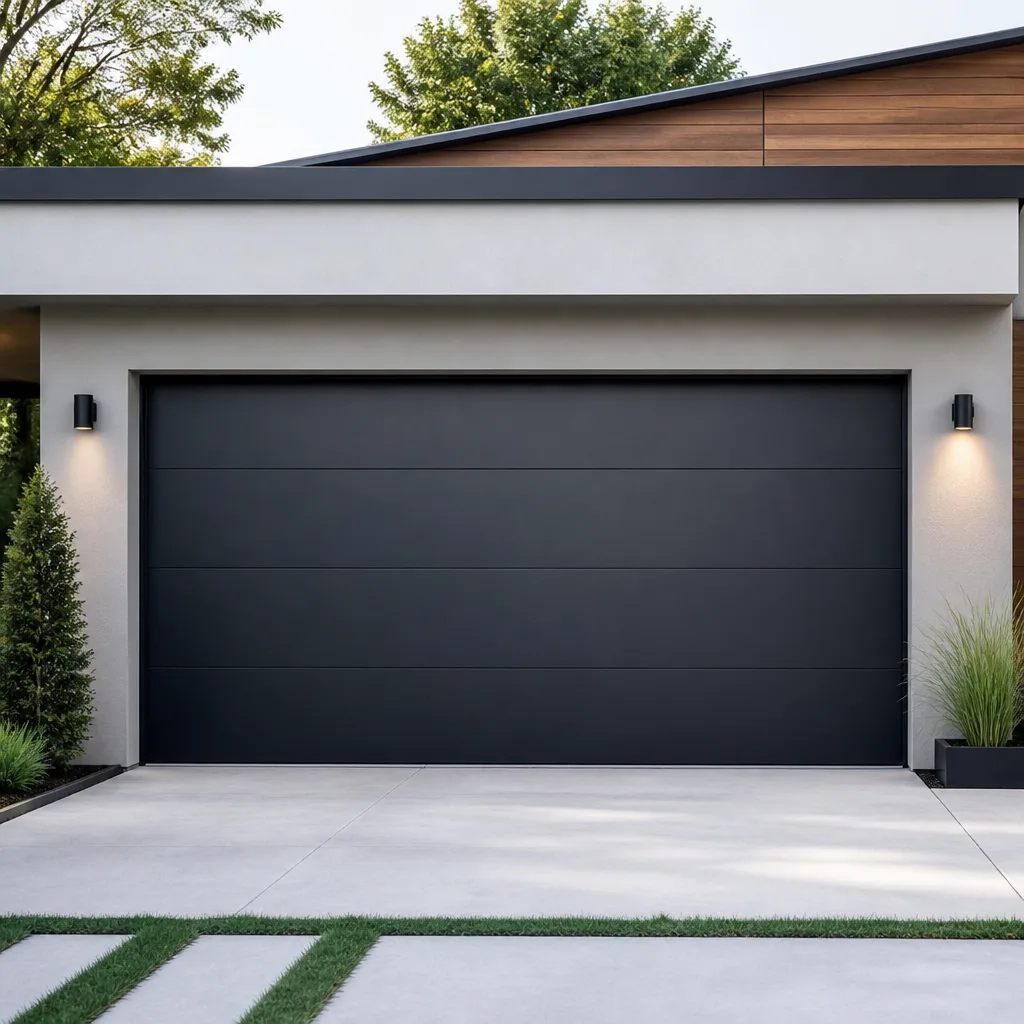 Modern flush
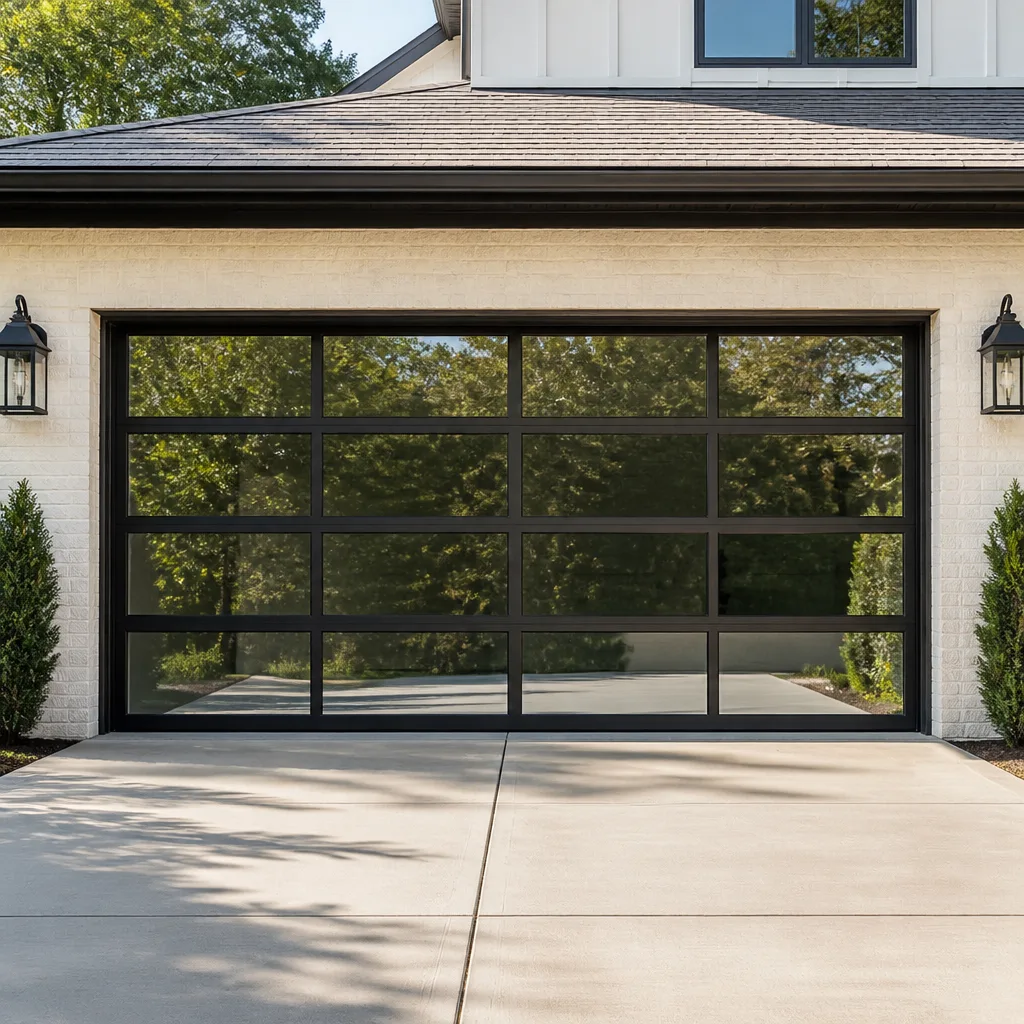 Full-view glass
 LiftMaster openers
 Chamberlain openers
Full 25-point door and opener safety check with every visit - springs, cables, rollers, tracks, and your LiftMaster or Chamberlain opener included
You get a price before we start. It does not change when the truck arrives.
Get your free estimateGarage Door Repair Maintenance Checklist for Ventura Homeowners
Most garage door maintenance checklists were written to look thorough, not to be used. They say “lubricate moving parts” but never tell you that spraying WD-40 on a torsion spring is one of the fastest ways to destroy it. They say “inspect the springs” without explaining what a stressed spring actually looks like before it snaps. This guide is different. We built it from two decades of service calls across Ventura, from the salty air of Pierpont to the inland heat of East Ventura, and every item below includes a pass/fail test so you know exactly what you’re looking at, and exactly when to stop and call our Garage Door Repair services team.
Styles & brands we work with
Quick Answer
A garage door maintenance checklist for Ventura homeowners should cover monthly visual inspections of springs, cables, rollers, and tracks, quarterly lubrication with the correct products, and an annual balance test and hardware tightening. The real value is knowing what a failing component looks like: a torsion spring with a visible stress gap, cables with frayed strands, or a door that drifts when released at waist height. If any of these appear, stop and call a professional before the door fails under load.
Table of Contents
- The Monthly Visual Inspection: What Healthy Looks Like
- Torsion Springs: The Most Misunderstood Part on Your Door
- Cables and Pulleys: What Correct Tension Feels Like
- The Lubrication Guide: Exactly What to Use, Component by Component
- Ventura Salt Air and Your Garage Door Hardware
- The Balance Test: How to Check It Safely
- The Printable Frequency Schedule: Monthly, Quarterly, Annual
- Common Mistakes to Avoid
- When to Call a Professional
- Frequently Asked Questions
- The Bottom Line
The Monthly Visual Inspection: What Healthy Looks Like
A garage door has about a dozen moving parts that wear on a predictable schedule. The point of a monthly look is not to fix anything. It’s to catch a small problem before it becomes a spring snapping at 7 a.m. on a Monday morning, or a cable letting go while the door is halfway up. Here’s what to check, and what a pass looks like.
Rollers: Look at the small wheels that ride inside the vertical tracks. A healthy roller spins freely and sits flush against the track. A failing roller shows a flattened spot, a wobble, or a visible gap between the wheel and the track. Nylon rollers with exposed bearings wear faster in Ventura’s coastal humidity than the manufacturer’s inland rating suggests. If you see rust-colored dust around the roller stem, the bearing is grinding itself away.
Hinges: The metal plates that connect each panel. Check the screw heads. A pass means all screws are tight and the hinge sits flat. A fail means any screw is backing out, any hinge leaf is bent, or you see metal shavings below the hinge. Loose hinges transfer stress to the panels, and in Ventura homes built before the 1990s, that often means stress on wood-framed jambs that have already gone through decades of marine-layer moisture cycles.
Weatherstripping: The rubber strip along the bottom of the door and the rubber seals on the side jambs. In Ventura, the combination of salt air and direct afternoon sun on west-facing garages hardens this rubber faster than inland climates. A pass means the strip is flexible when you press it with a thumbnail. A fail means it’s cracked, brittle, or leaving gaps where daylight shows through. Gaps matter more in coastal neighborhoods because they let salt-laden air into the garage and accelerate corrosion on every metal component, including tools and stored items.
Track alignment: Stand at the back of the garage and sight down each vertical track. Both tracks should be parallel, with no visible bowing. A pass means the track is clean, straight, and the mounting brackets are snug against the wall. A fail means any bracket has pulled loose, any track section has shifted, or you can see a gap between the track and the wall where there wasn’t one before.
Torsion Springs: The Most Misunderstood Part on Your Door
The torsion spring, which is the large coil mounted above the door that does most of the lifting, is the component that injures more DIY homeowners than any other part of the garage door system. It is under hundreds of pounds of tension even when the door is closed. The monthly check on a torsion spring is visual only. You do not touch it, you do not adjust it, and you absolutely do not lubricate it with penetrating oil thinking that’s maintenance.
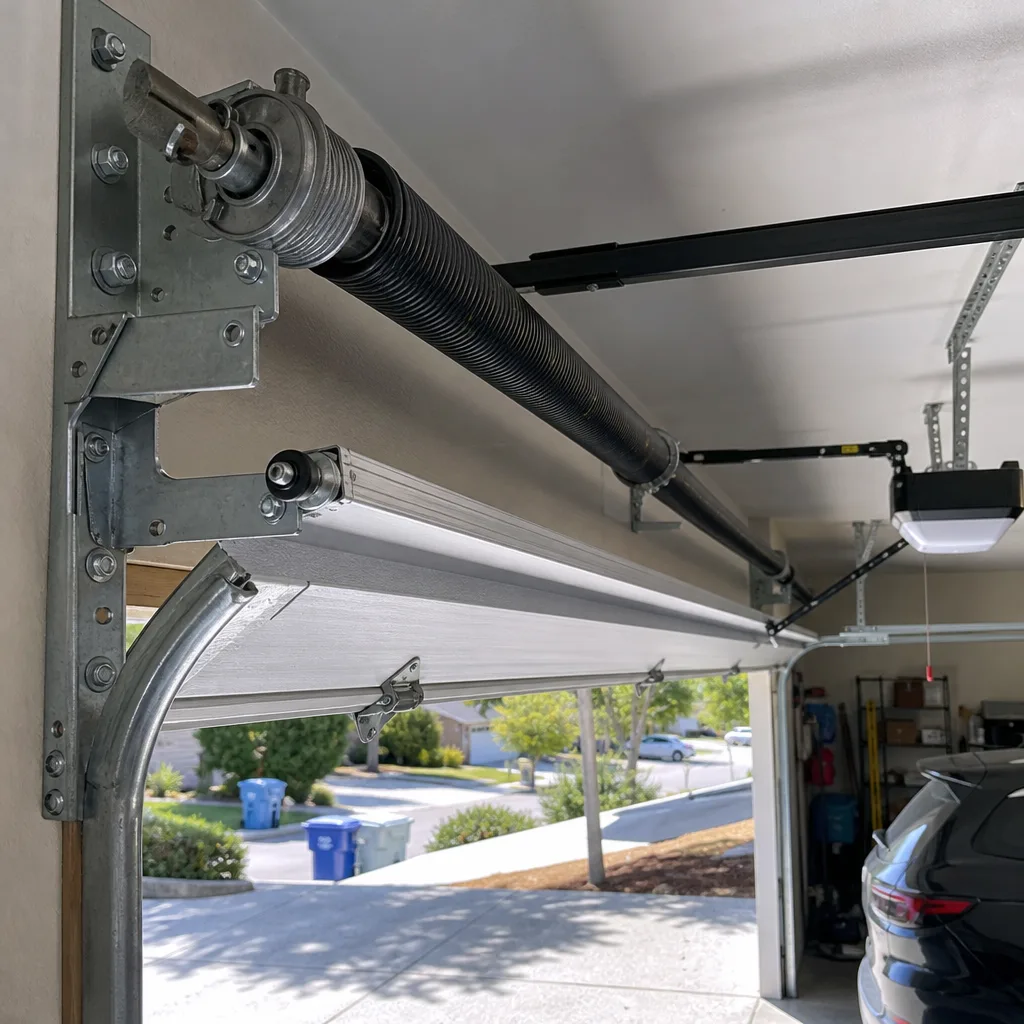
What a healthy torsion spring looks like: The coil is tightly wound with no gaps between the individual coils. The spring sits centered on the torsion tube, and both spring ends are seated in their cones without visible wear. The coating on the spring, usually a light oil film or factory finish, is consistent along its length.
What a failing torsion spring looks like: The most important sign is a stress gap. This is a visible separation between two coils that appears near the center of the spring, where the stress concentrates. The gap starts small, maybe an eighth of an inch, and widens as the metal fatigues. Once you see that gap, the spring is no longer evenly distributing force, and the remaining coils are carrying extra load. In our experience across Ventura, a spring with a visible stress gap has weeks, not months, of service life left.
Other failure signs: rust staining on the coil surface, which in coastal neighborhoods like Pierpont and the Keys indicates the protective coating has failed and the spring steel is corroding; a spring that appears to sag slightly at the center; or any visible deformation in the coil shape. A torsion spring typically lasts 7 to 12 years, or roughly 10,000 open-and-close cycles. If your door was installed when your Ventura home was built and that was more than a decade ago, the spring is on borrowed time regardless of how it looks.
Pass/fail criteria: Pass is a tightly wound spring with no gaps and no rust. Fail is any visible gap between coils, any rust staining, or any sag. If you see any of those, stop examining and call a professional. A torsion spring under tension can release catastrophically if it snaps while you’re standing near it, and the metal cone ends become projectiles. This is not a repair attempt. This is a recognize-and-retreat situation.
Cables and Pulleys: What Correct Tension Feels Like
The lifting cables are the steel wires that run along both sides of the door, from the bottom brackets up to the cable drums on the torsion tube. They’re under the same tension as the springs, and like the springs, they’re a look-don’t-touch item for homeowners.
Visual pass/fail: A healthy cable lies tight in its groove on the drum, with no slack anywhere along its run. The drum is the circular spool at the end of the torsion tube above the door. A failing cable shows frayed strands, which look like fine hairs sprouting from the cable body, or a cable that appears to have a slight curve or kink in it where it should be straight. Any fraying is an automatic call to a professional. Cables don’t fray gradually and keep working; they fray and then they snap, often under full load, and the door drops.
What correct tension feels like: Here’s the test you can safely do. With the door closed, put on a work glove and press your thumb against the cable at the midpoint between the bottom bracket and the drum. A correctly tensioned cable will have less than a half inch of deflection. It should feel like a guitar string that’s been tuned, not a rubber band. If the cable moves more than that, or if one side is noticeably tighter than the other, the door is off balance and the spring system is compensating unevenly.
Pulleys, where present: Extension-spring systems, more common on older Ventura homes built before the 1980s, use pulleys at the rear of the horizontal tracks. Check that each pulley spins freely when the door is open a few feet. A seized pulley grinds the cable and creates metal dust around the pulley housing. That metal dust on the horizontal track is a fail, and it’s often mistaken for normal garage grime.
Stop-and-call rule: If you see frayed strands, a kinked cable, cable slack, or metal dust at a pulley, do not run the door. Disengage from any thought of fixing it yourself. Cables are re-wound under spring tension, and getting this wrong is how homeowners end up in urgent care. A professional can assess it safely in minutes. In Ventura, where the marine layer keeps morning humidity high, surface rust on cable hardware accelerates faster than in Simi Valley or Ojai, and what looks like minor discoloration can be structural weakening.
The Lubrication Guide: Exactly What to Use, Component by Component
If there’s one area where conventional garage door advice does more harm than good, it’s lubrication. The wrong product on the wrong part either does nothing, attracts dirt, or actively destroys the component. Here’s the full breakdown.
Torsion springs: Lithium-based white grease. Apply a thin coat to the coil surface twice a year. The grease prevents surface rust and reduces the tiny friction between coils as they flex. Do not use WD-40. WD-40 is a penetrating water displacer, not a lubricant, and on a torsion spring it strips the protective coating and dries out, leaving bare steel exposed to Ventura’s salt air. The spring then rusts, pits, and fails years before its rated cycle life.
Hinges: White lithium grease or a garage door-specific spray lubricant. One small dab on each pivot pin, applied at the joint where the two hinge leaves meet. Do not overspray. Excess grease drips onto the door panel and collects dirt that grinds into the hinge pin over time.
Rollers: Silicone spray only. Silicone is light, doesn’t attract dust, and penetrates the bearing without leaving a sticky residue. If your rollers have sealed bearings, which most nylon rollers do, you skip the roller entirely and just lubricate the hinge pin. Putting grease on a sealed bearing does nothing but make a mess.
Track: Nothing, ever. The track is not a lubrication point. Greasing the track is the most common mistake we see in our garage door repair in Ventura work. The rollers are designed to roll on dry metal. Grease on the track collects dust, beach sand from the coastal breeze, and pet hair, and turns into a grinding paste that wears both the roller and the track. If the door is noisy, the problem is the roller bearing or hinge pin, not a dry track.
Locks and latches: Graphite or a dry PTFE lubricant. Wet lubes gum up the lock mechanism with dirt. A dry graphite puff into the keyhole is enough, and it works in Ventura’s marine air without congealing.
Weatherstripping: Silicone spray or a rubber protectant, not oil-based dressing. Oil-based rubber dressings soften the seal but break down the rubber compound over time and accelerate the exact drying and cracking they’re supposed to prevent. A silicone spray every quarter keeps the rubber supple and helps it shed water from the winter rain.
Ventura Salt Air and Your Garage Door Hardware
Ventura is a coastal city, and the marine layer doesn’t just fog your windshield. It carries salt-laden moisture that settles on every metal surface inside a garage, and this changes the maintenance math compared to the manufacturer’s inland-climate recommendations.
The standard guidance for a garage door installed in a dry inland climate is an annual hardware inspection. In Ventura, especially within two miles of the water, we recommend inspecting hardware every six months. The difference is measurable. We’ve replaced springs on homes off Seaward Avenue that showed significant pitting at eight years, while the same spring in a Santa Paula garage would run to twelve. The salt air shortens the service life of every exposed metal component: springs, cables, brackets, hinges, and the track fasteners. It also accelerates corrosion on the steel reinforcement struts that run across the back of the door panels.
If you live in Pierpont Bay, the Keys, Ventura Marina, or any neighborhood where you can smell the ocean on a summer morning, double the hardware-inspection frequency. Check springs and cables monthly instead of quarterly, and treat that inspection as a hard commitment, not a nice-to-have.
There’s also a Ventura-specific detail that doesn’t show up in manufacturer manuals: the combination of salt air and the dry Santa Ana winds in fall creates a corrosion-and-dust cycle. The salt deposits sit on metal, the Santa Anas blow fine dust onto everything, and the dust absorbs the salty moisture and holds it against the metal. The result is localized corrosion under the dust layer, which you won’t see unless you wipe the hardware off before inspecting it. So when you do your monthly check, wipe the spring, cables, and hinges with a dry cloth first, then look. The cloth itself tells you something: if it comes away with reddish-brown residue, that’s surface rust, and the component needs closer attention.
The Balance Test: How to Check It Safely
A properly balanced garage door stays where you put it. That’s the entire test. When the spring tension is correct, the door’s weight and the spring’s lifting force cancel out, and the door holds position at waist height without drifting. When that balance is off, the door is telling you that a spring is weakening, and that message only gets louder.
Here’s the procedure, step by step:
- Close the door completely.
- Pull the red emergency release handle, which is the red cord hanging from the trolley carriage, the component that connects the door to the opener rail. Pull it straight down, not at an angle.
- Lift the door manually by the handle or the bottom edge until the door is at waist height, roughly three feet off the ground.
- Let go.
Now watch the door. If it stays within an inch of where you released it, the balance is correct and the springs are doing their job. If it drifts upward, the springs are over-tensioned and holding too much force. If it drifts downward, the springs are losing tension and the door is gradually winning an argument you don’t want to have at 6 a.m.
A door that drops slowly, say an inch every few seconds, means the spring has lost some of its lifting force. This is the early warning for a spring that’s fatiguing. You can live with it for now, but you should budget for a spring replacement in the near term, because what happens next is that the door starts to feel heavier and the opener motor works harder, and then the spring snaps.
If the door drops at anything faster than a slow drift, or if it slams down when you release it, do not continue. The door is a falling weight, and no one’s schedule is worth an injury. Leave the door in whatever position it’s in, re-engage the opener if it’s safe to do so, or just call someone. In Ventura, we regularly see this on homes where the garage faces west and gets the full afternoon sun, because the heat cycling stresses the spring steel more than the cooler north-facing garage on the same block.
This test is one of the most useful things a homeowner can do, and it takes thirty seconds. As part of our standard garage door installation in Ventura work, we run it on every door we install and show the homeowner the result, so they know what a correctly balanced door feels like from day one.
The Printable Frequency Schedule: Monthly, Quarterly, Annual
Here’s the full schedule, organized by how often each task belongs on your calendar. For more guides & resources on keeping your home in top shape, explore our blog. The seasonal cues are specific to the Ventura calendar, not a generic “spring and fall” list, because our weather doesn’t work like the rest of the country.
Monthly: The Five-Minute Check
- Visual inspection of torsion springs: look for stress gaps, rust, or sag. Do not touch.
- Visual inspection of cables: look for frayed strands, kinks, or slack on either side.
- Roller check: look for wobble, flat spots, or rust dust around the stems.
- Hinge check: look for loose screws or metal shavings below each hinge.
- Track check: look for loose brackets, bowing, or any debris sitting in the track channel.
Quarterly: The Coastal-Adjusted Schedule
- Lubricate torsion springs with lithium-based white grease.
- Lubricate hinge pins with white lithium grease or garage door spray.
- Lubricate unsealed rollers with silicone spray.
- Apply silicone to weatherstripping to keep the rubber supple against salt air.
- Wipe down all hardware with a dry cloth before lubricating, especially if you live within two miles of the coast.
- Run the balance test described above.
Annual: The Scheduled Maintenance Block
- Tighten every bolt, screw, and bracket on the door and track system. Use a socket wrench, not a drill, and stop when the fastener is snug, not torqued.
- Inspect the torsion spring for end-cone wear and measure the coil gap, if any.
- Check the opener’s force settings: the door should reverse when it hits a 2×4 laid flat on the ground.
- Check the photo-eye sensors: ensure the lenses are clean and aligned, and test the auto-reverse.
- Inspect the opener’s drive belt or chain for tension and wear.
- Verify the emergency release handle is reachable and functional.
For Ventura homeowners, a good annual rhythm is to do the annual block in early October, when the Santa Ana season starts and the dust-and-salt cycle ramps up. Doing it then means the door is in the best possible condition before the windy season, and nothing is discovered in a January downpour when the door is already misbehaving.
Common Mistakes to Avoid
- Using WD-40 on torsion springs. This strips the protective coating and leaves the spring exposed to salt air. The spring then rusts and fails early. Use lithium-based grease or nothing.
- Greasing the track. The track is not a lubrication surface. Grease there attracts coastal dust and beach sand and turns into grinding paste. The noise you’re trying to fix is coming from the rollers or hinges, not the track.
- Ignoring a drifting door. A door that slowly drops when released at waist height is a failing spring, not a quirk. The longer it’s ignored, the harder the opener works, and the more likely you are to be standing under the door when the spring finally lets go.
- Tightening the red emergency cord into a knot. Shortening the cord or tying it up means you can’t reach it in an emergency. Leave it hanging freely where it’s designed to hang.
- Replacing one spring instead of both. On a two-spring door, both springs have the same cycle count. Replacing only the snapped one means the other is near failure and the door is unbalanced from day one. This is a common shortcut from low-bid operators in the Ventura area. Don’t accept it.
- Lubricating sealed bearing rollers. Most modern nylon rollers have sealed bearings. You can’t lubricate them, and trying just pushes dirt into the bearing area. Replace them when they wear out; don’t spray them.
- Adjusting spring tension based on a YouTube video. Torsion springs are loaded with hundreds of pounds of force. The winding bars used to adjust them can become missiles if the spring slips. This is the single most common cause of serious garage door injuries we hear about in our garage door opener repair in Ventura service area.
When to Call a Professional
Some things on a maintenance checklist belong there conceptually, but should never be attempted by a homeowner. Adjusting torsion spring tension, re-winding a cable that has come off its drum, and replacing a bottom bracket all fall into this category. If the cable has jumped the drum, the door is under uneven tension, and the correct procedure involves safely releasing that tension before re-winding. Getting that wrong is how the cable whips and the spring unwinds into unprotected hands.
Call a professional if you see a stress gap in any spring, fraying on any cable, a door that slams when released from the balanced position, or rust that has visibly deformed any hardware component. Doyle Garage Doors Ventura offers free estimates in Ventura, and every repair includes a written price before any work starts. Call (559) 239-8293 and a real person will answer, day or night.
Frequently Asked Questions
Most garage door maintenance checks in Ventura are free if they’re part of a repair estimate, and a standalone tune-up typically runs between $75 and $150 depending on the number of components serviced. Lubrication, hardware tightening, and a balance test are usually included in that range. Repairs found during the check, like a failing spring or worn rollers, are priced separately and written down before any work begins. Call (559) 239-8293 for an exact quote, free of charge.
Every three months if you live within two miles of the ocean, and every six months if you’re inland. Ventura’s salt air corrodes exposed metal faster than the manufacturer’s standard assumptions, so the quarterly schedule prevents surface rust from taking hold on springs and hinges. Use lithium-based grease on springs and hinges, silicone spray on rollers and weatherstripping, and nothing on the track.
A failing torsion spring shows a visible gap between coils, usually near the center of the spring where stress concentrates. It may also show rust staining or a slight sag. If you see a stress gap wider than an eighth of an inch, the spring has weeks of life left, not months, and it should be replaced before it snaps under load. Never attempt to adjust or remove a torsion spring yourself.
Yes, for the visual inspections, lubrication, balance testing, and weatherstripping care described in this guide. No, for anything involving spring tension, cable re-winding, or bracket replacement under load. Those tasks require specialized tools and training, and a mistake carries serious injury risk. A professional inspection typically costs less than a single medical copay.
Because the noise is likely coming from a worn roller bearing or a loose hinge, not from a lack of lubrication. Rollers with sealed bearings can’t be lubricated from outside; they need replacement. Loose hinge screws create a rattling sound that no amount of grease fixes. A noisy door in Ventura often means the hardware has been in service since before the salt air started working on it, and a component inspection is the actual fix. Call (559) 239-8293 and we’ll identify the exact noise source before any work is quoted.
Seven to twelve years, depending on how close to the coast you live and how often the door cycles. A spring rated for 10,000 cycles in a dry inland climate may fail at 7,000 cycles within a mile of the Ventura coastline because salt air accelerates corrosion. Homes in Pierpont Bay and the Keys tend to need spring replacement earlier than homes in East Ventura or Montalvo. If your spring is over a decade old, budget for replacement even if it still looks healthy.
The Bottom Line
A garage door maintenance checklist only earns its place on your refrigerator if it tells you what failure looks like. Look for stress gaps in torsion springs, frayed strands in cables, wobble in rollers, and drift in a door released at waist height. Lubricate with the right products for the right components, and never put anything on the track. In Ventura, double the inspection frequency within two miles of the coast. And when the checklist turns up something that isn’t a pass, stop and call before the door stops calling the shots. Doyle Garage Doors Ventura answers the phone 24/7, sends the technician’s name and photo before the visit, and puts every price in writing before any work begins. Call (559) 239-8293.
Written by Aaron Teague, Owner at Doyle Garage Doors Ventura, serving Ventura since 2001.
See the difference
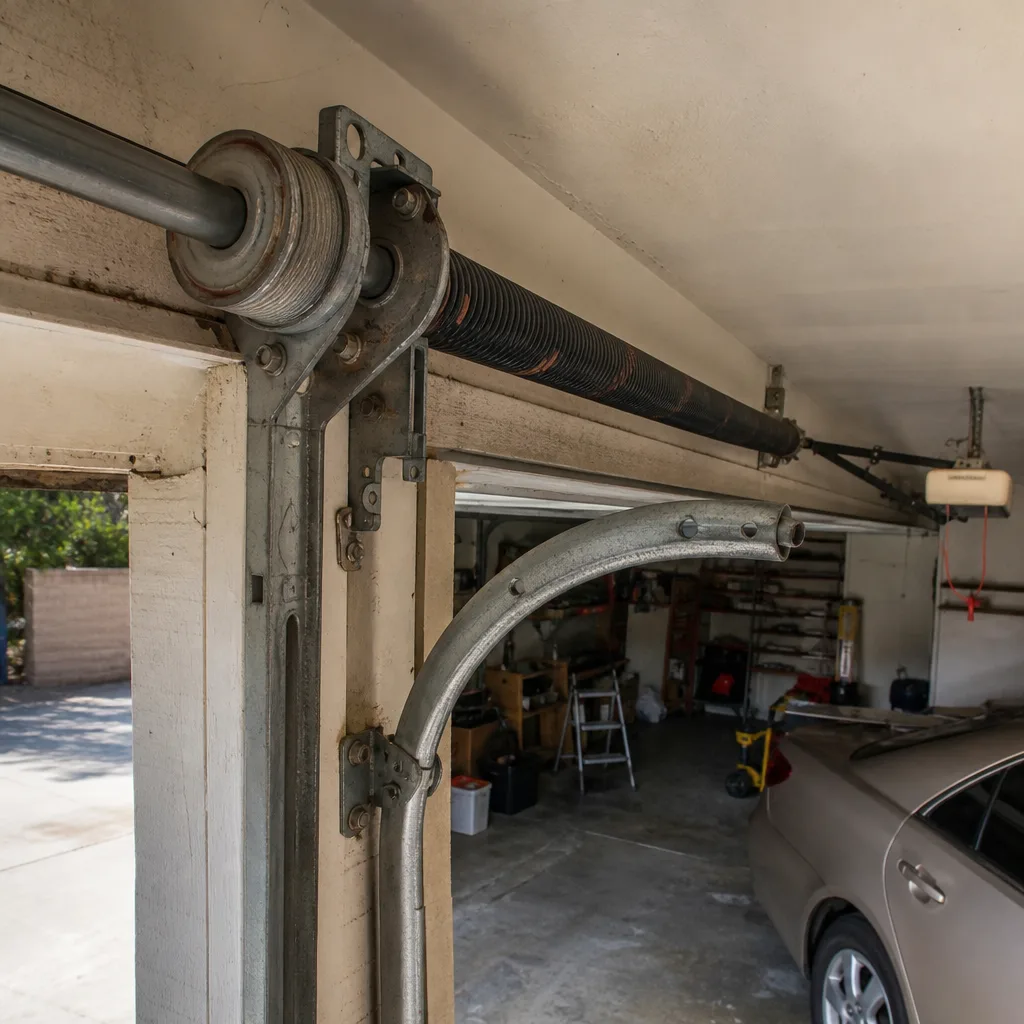 Before
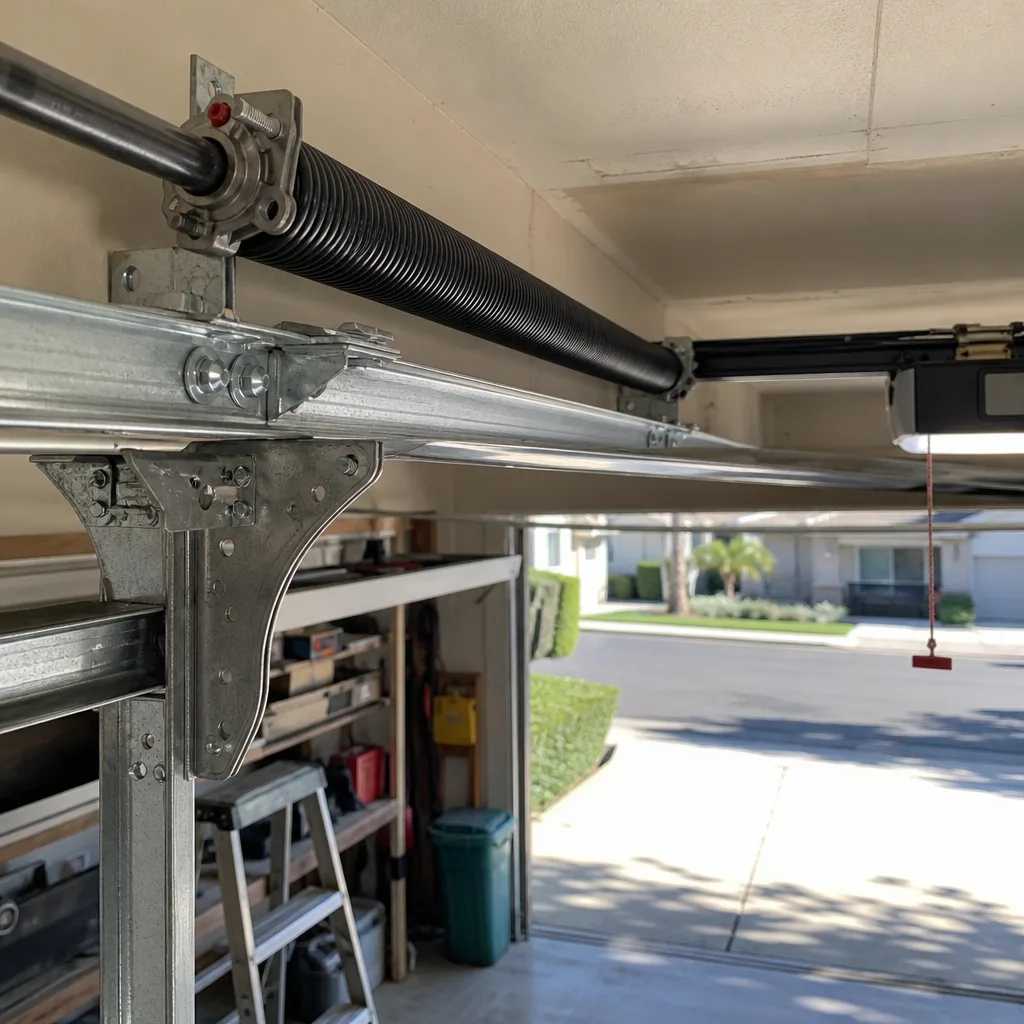 After
After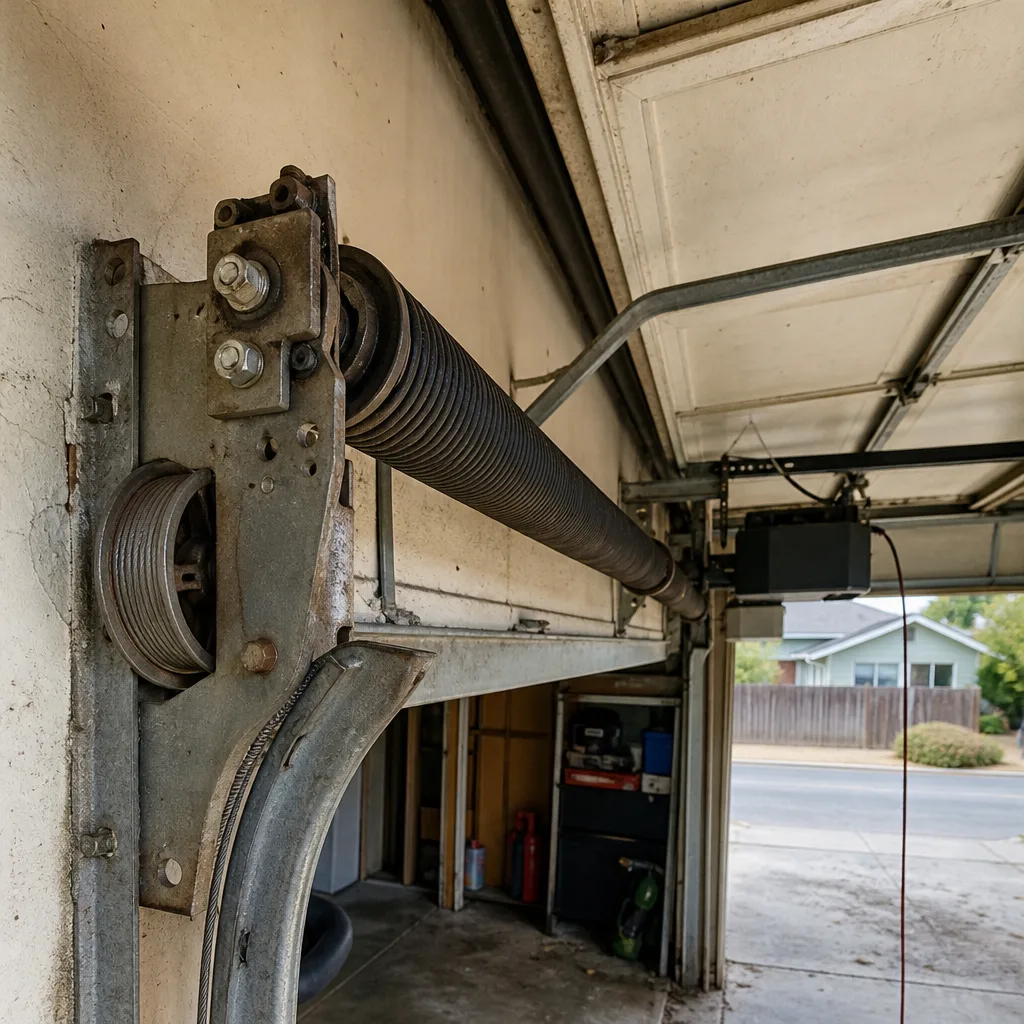 Before
 After
After Before
 After
After